Getting started with point graphs
How to set up your first point graph and using it in a scene.

We'll create a scene with a road network, and a point graph to represent it. Then we'll add a character that can move along the road network.
If you haven't already, I recommend reading the Get Started Guide first.
Contents
- Example scenes with point graphs
- Introduction
- Creating a new scene with a road network
- Adding pathfinding
- Adjusting the graph to our scene
- How a point graph works
- Adding an agent
- Tweaking movement
- Conclusion
Example scenes with point graphs
Introduction
The point graph is perhaps the conceptually simplest graph type in the package. It represents all nodes in the graph as individual points in space, and connects them with edges.
You also get to manually place all the nodes yourself, which can be useful in some cases. For example if you want your agents to move along a road network that cannot be created using the other graph types. Or maybe if you have a completely custom graph structure and you want to create the whole graph programatically.
Agents have a harder time following paths on the point graph compared to the other graph types, because the graph itself contains much less information. The nodes have no surface area, only a single point in space, and this makes it hard for the agents to reason about where it is safe to walk.
Therefore, the other graph types are usually preferred over the point graph, when they can be used.
However, in some situations you don't even have an agent. For example you may want to do some pathfinding on a world map, and visualize the path that the player could take. Then the point graph could work great.
Creating a new scene with a road network
Create a new empty scene, name it "PointGraphTest".
Create a new plane to use as the ground, name it "Ground".
Move the ground to the origin (0,0,0) and scale it to (10,0.1,10).
We'll now create a simple road network using boxes. Each box will represent a road segment.
We are creating a simple road network here. But keep in mind that this package is not suited for road networks with complex rules, like traffic lights, right-hand turning rules, multiple lanes, etc. Much of it is possible to do with custom scripts to connect nodes, but it's not the main focus of this package.
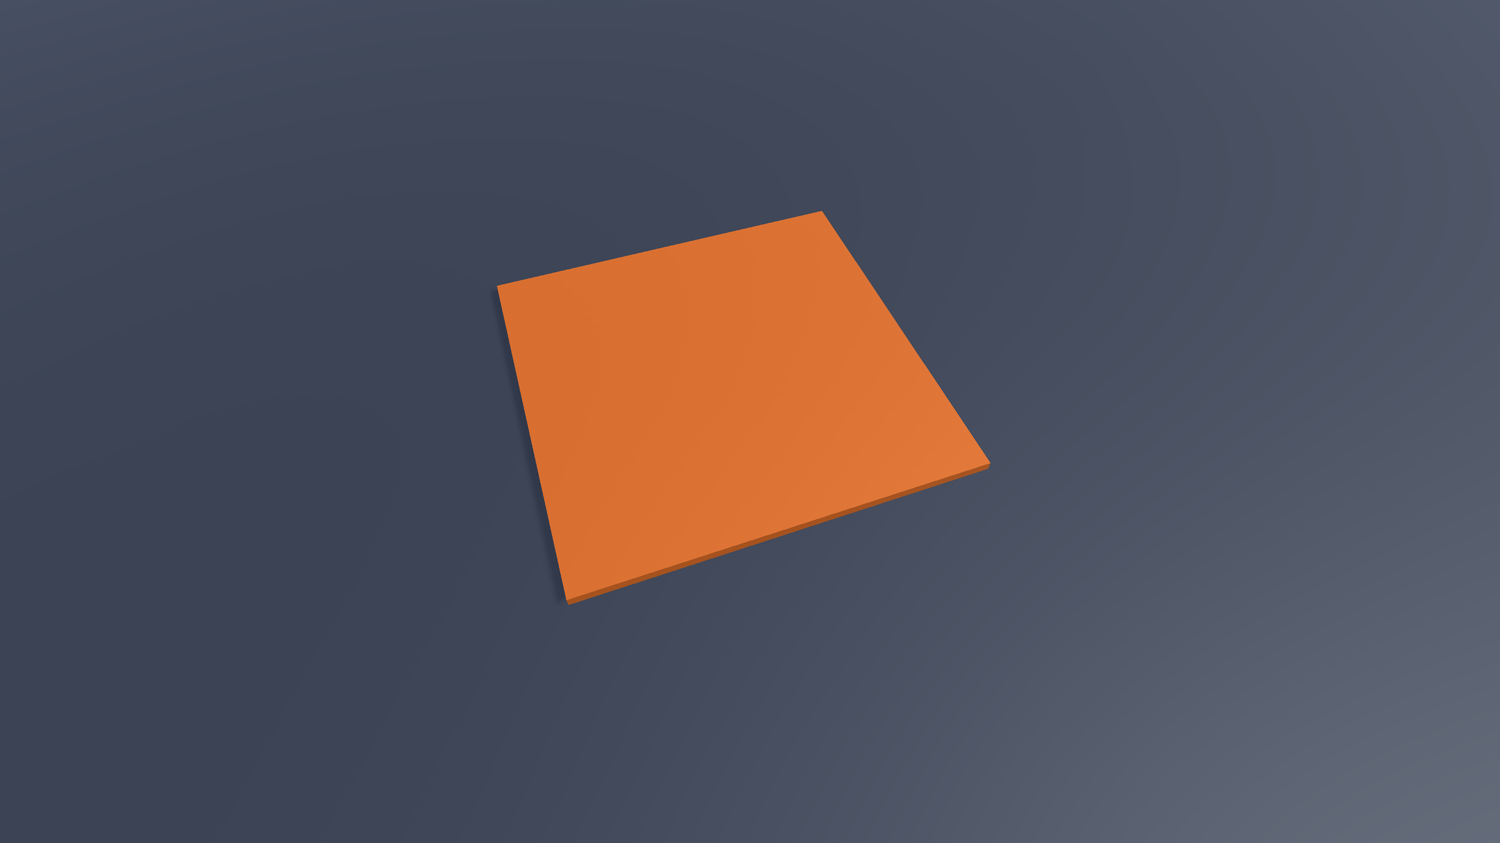
Create a new 3D cube, and name it "RoadSegment".
Scale the cube to (2, 0.1, 2).
Optionally apply a material, to make it nicer to look at.
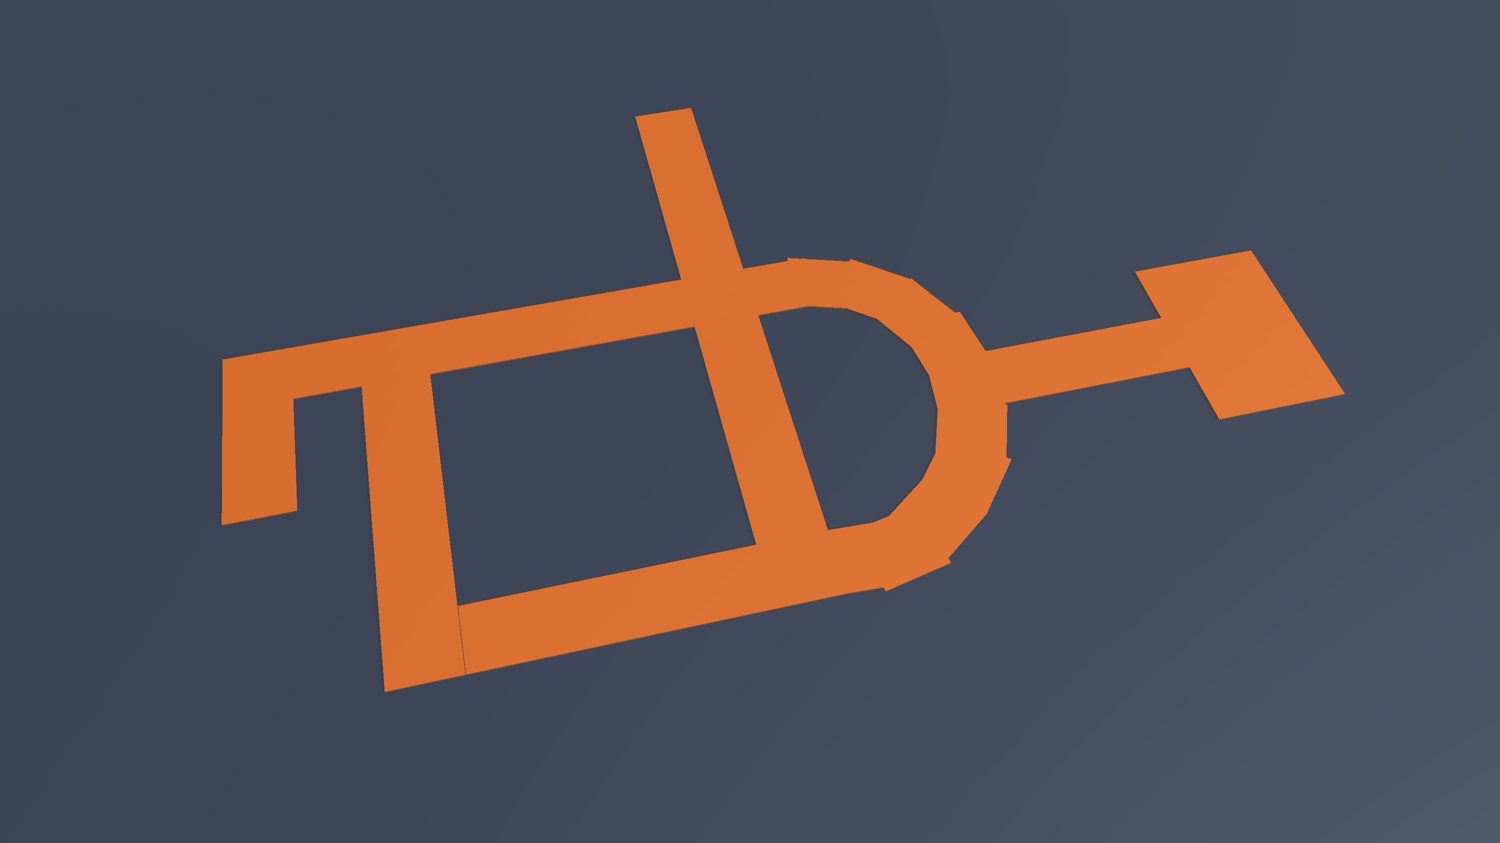
Duplicate the road segment a few times, creating some kind of road network.
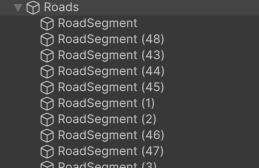
Move all road segments to a common parent GameObject, name it "Roads".
Adding pathfinding
Add a new empty GameObject to the scene, name it "A*".
Attach the AstarPath component to the GameObject.
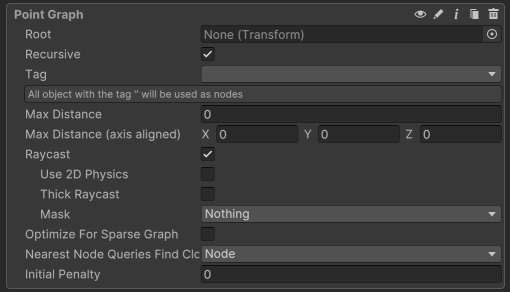
Open the A* inspector, and add a new PointGraph.
Click on the graph's label to expand its settings.
Adjusting the graph to our scene
You can create the nodes for the point graph in three different ways:
Use all GameObjects that are children (or sub-children) of a specific GameObject.
Use all GameObjects with a specific tag.
NoteThese are unity tags. Not to be confused with pathfinding tags used for penalties and traversal costs in this package.
In this case, we'll use the first method.
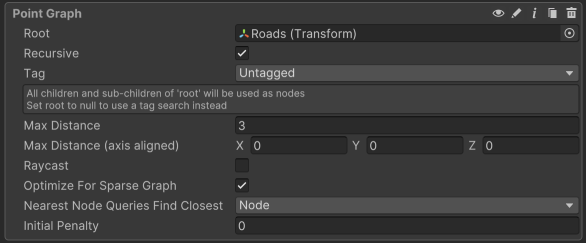
Select the A* GameObject.
Set the root setting on the point graph to our newly created Roads GameObject.
Set Max Distance to 3
The point graph tries to connect all nodes within a certain distance of each other.
Since the road segments we created are 2 units wide, a distance of 3 will be able to cover the distance between two road segments, but not much more.
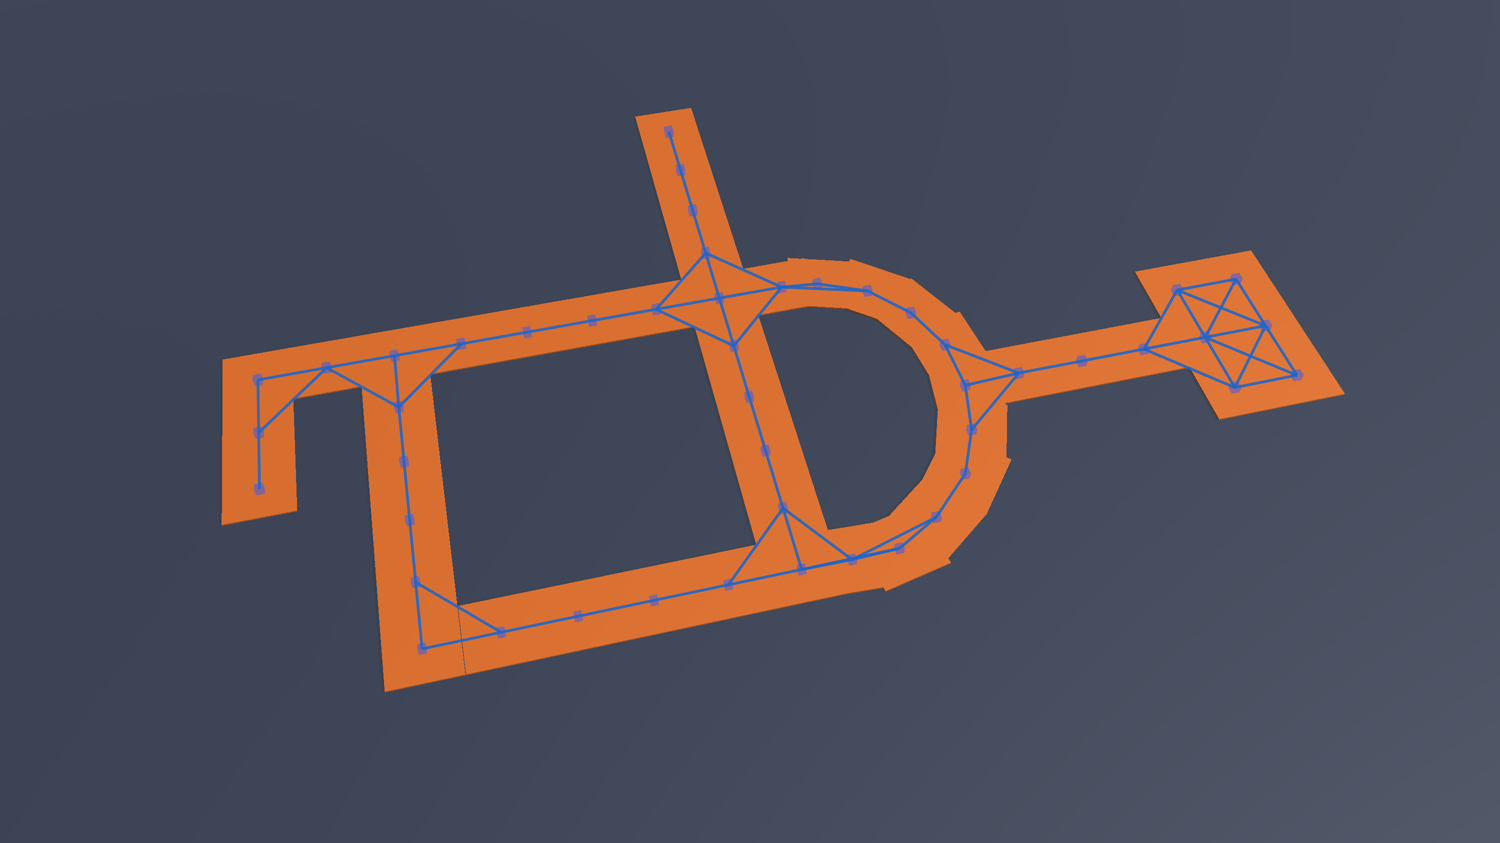
Click the Scan button to scan the graph.
Or use the keyboard shortcut: Cmd+Alt+S (mac) or Ctrl+Alt+S (windows).
In the scene view, you should now see the nodes, and how they are connected.
How a point graph works
The point graph takes as input a set of points in space, as mentioned before. It then tries to connect every node to every other node, with respect to some user-configured limits:
Distance Limits: node connections are filtered based on the distance between the nodes. It's useful to limit the distance somewhat, if only to speed up the calculations.
Raycasting: raycasting is used to check if there are any obstacles between the nodes.
If you want to tweak the connections between nodes further, take a look at Editing graph connections manually.
You can also create all nodes and connections in point graph completely using code. Take a look at Adding custom nodes to point graphs for more information.
Adding an agent
Of course we'll also have an agent that can move along the road network.
We'll use the AIPath movement script in this tutorial.
The FollowerEntity and RichAI movement scripts do not support point graphs. They require a graph with surface information, which the point graph doesn't have.

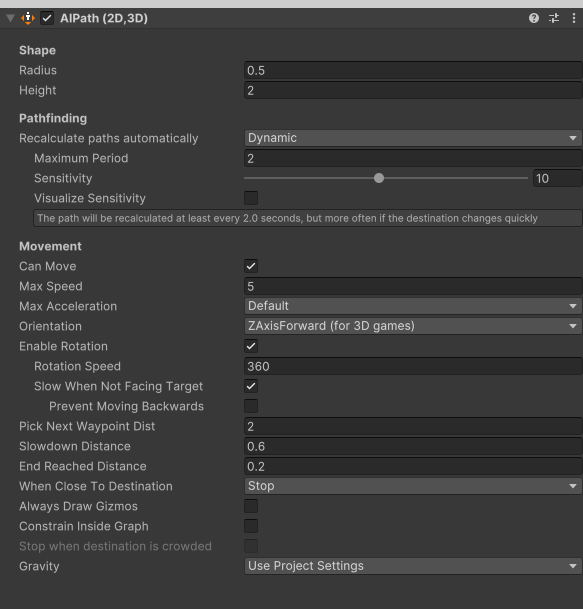
Create a new GameObject and name it "Agent"
Place it somewhere on the ground
Attach the AIPath component to the agent's root GameObject
This will also automatically attach the Seeker component, which helps the AIPath component with pathfinding.
Increase the AIPath → Max Speed setting to 5.
Add a Cylinder object as a child of the agent, and move it to (0,1,0). This will make it line up with the agent's bounds.

Attach the AIDestinationSetter to the agent's root GameObject.
This tells the agent where to go.
Create a new sphere Game Object in the scene, name it "Target"
Move the target to somewhere on the road network.
Assign the target GameObject to the target field on the AIDestinationSetter component.
Press play
The agent should now move towards the target.
Tweaking movement
One thing you may notice is that the agent always stops at the positions of the nodes, never in-between. This is because the Seeker is, by default, configured to snap the destination to the surface of the closest node. However, since point nodes do not have a surface, it will always snap to the nodes' positions.
We can make the agent be able to stop on the connections between nodes by adjusting the Start End Modifier on the Seeeker.
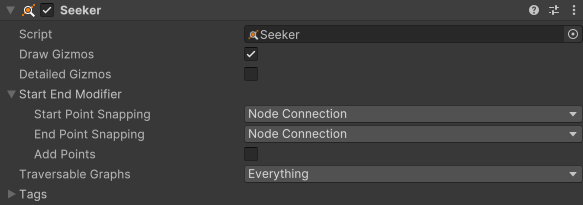
Select the agent
Set Seeker → Start End Modifier → Start Point Snapping to Node Connection.
Set Seeker → Start End Modifier → End Point Snapping to Node Connection.
Press play
When the agent reaches the target, notice how it is now allowed to stop in-between nodes.
Conclusion
The point graph is a simple graph type that can be useful in some niche cases. In this tutorial, we created a road network and made an agent move along it.