Get Started Guide
How to get started with the A* Pathfinding Project, create your first graph, and make an agent move around on it.
Contents
- Video Tutorial
- Overview
- Introduction
- Installation
- Creating a scene with some obstacles
- Adding Pathfinding
- Adding an agent
- Setting the destination via code
- Logging settings
- Conclusion
Video Tutorial
If you prefer a video tutorial instead of a text tutorial, here is a video for you. The video tutorial and this text tutorial are very similar, so you can choose the one you prefer.
You can also take a look at the excellent tutorial/review by Code Monkey: https://www.youtube.com/watch?v=46qZgd-T-hk
Overview
This package focuses on 3 core areas: 
Graphs: which describe where an agent can move.
Pathfinding: finding the best path between two points on a graph, or similar tasks.
Movement: how an agent follows a path.
Additionally, there are many supporting features. Broadly, they can be grouped into:
Temporary obstacles: which cut holes in the navmesh or update it in other ways.
Off-mesh links: which allow an agent to move or jump between otherwise disconnected parts of the navmesh.
Path modifiers: which are used by some movement scripts to smooth or simplify paths (notably these are not used by the FollowerEntity, which you'll use in this tutorial. It has its own internal smoothing instead).
Local avoidance: which is used to make agents handle crowds.
Introduction
In this tutorial, we will create a simple scene with a few obstacles, generate a navmesh for it, and then make an agent move around on it.
Installation
The first thing you need to do, if you haven't done so already, is to install the A* Pathfinding Project.
Please read the installation guide.
If you want, you can explore the different example scenes in the project before you start with the next section. The example scenes are installed separately. Take a look at the installation guide for more info.
Creating a scene with some obstacles
Create a new empty scene, name it "PathfindingTest".
The agent needs something to walk on, and something for it to avoid.

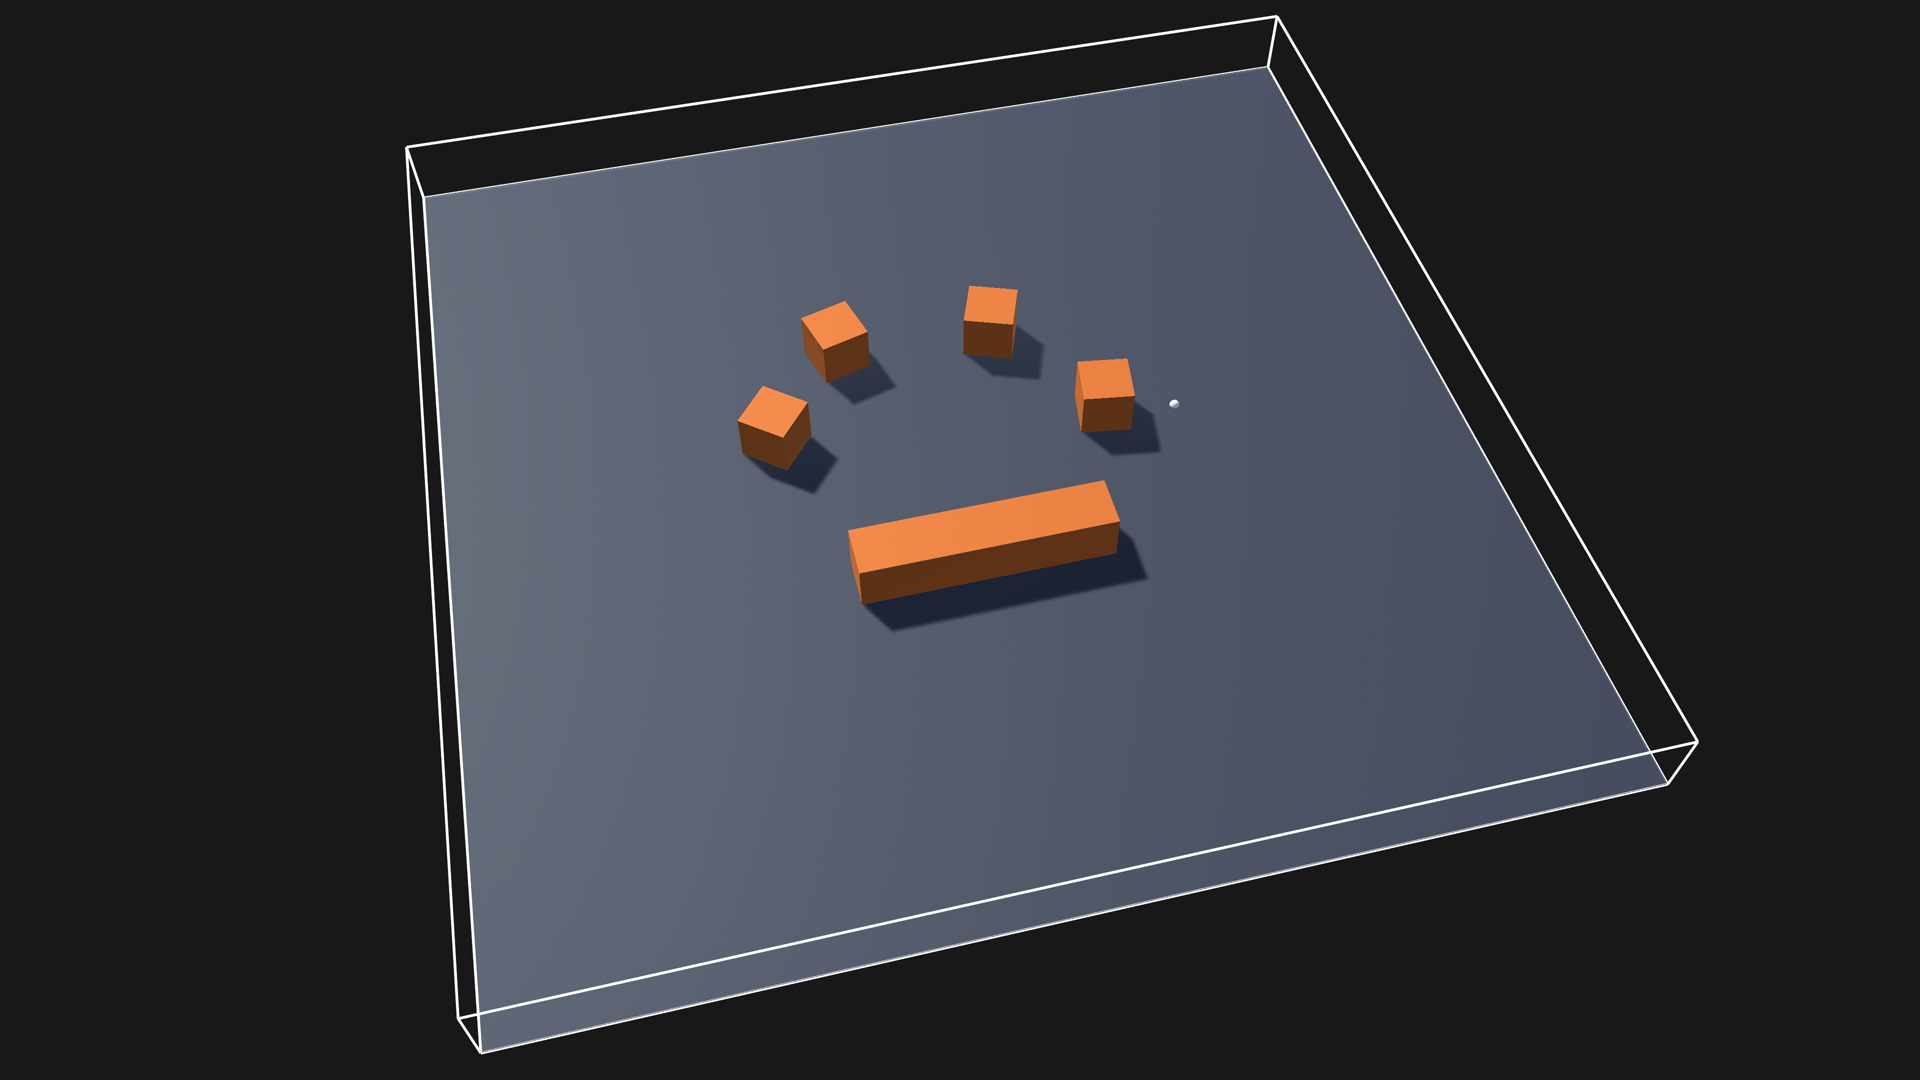
Add a plane to the scene, place it at the scene origin (0,0,0) and scale it to (10,10,10).
Then create some cubes of different scales and place them on the plane; these will be obstacles which the agent should avoid.
You can optionally add some materials to the objects, to make them look nicer.
Your scene should now look something like in the image
Adding Pathfinding
The AstarPath component is the core of this package. It holds all the graphs in the scene and provides a central place for all pathfinding related settings.
This is a singleton, so you should only have one instance of it in your scene. You can add multiple graphs to it, but most games only need one.

The inspector of the AstarPath component is divided up into sections.
Graphs: contains all graphs in the scene.
Settings: contains all global pathfinding and logging settings.
Save & Load: allows you to save and load graphs to and from files.
Optimization: allows you to enable or disable some features project-wide. You typically don't have to touch these.
About: shows the current version and has links to the online documentation.
Show Graphs Toggle: enables or disables the graphs from being rendered in the scene view.
Scan Button: recalculates all graphs. There's also a shortcut for this: Cmd+Alt+S (mac) or Ctrl+Alt+S (windows).
The A* Inspector, for a more detailed explanation of every setting in the A* inspector.
But what is a graph?
A graph represents the traversable surface of the world. This is every point where your agent can walk. Or, more precisely, it is every location where it is valid for the center of an agent to be.
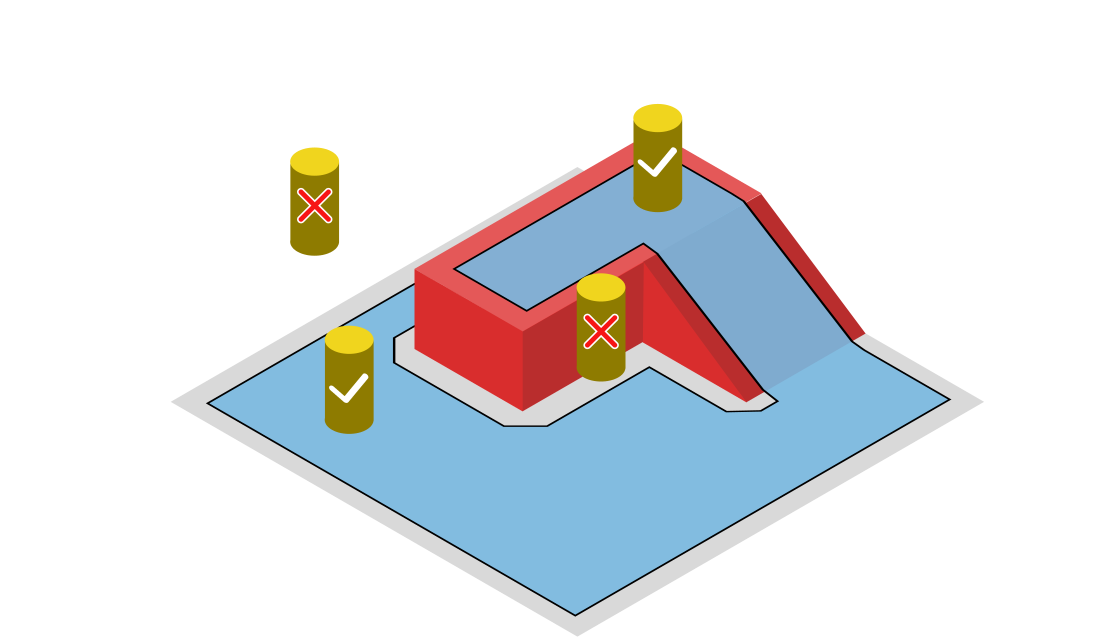
A graph consists of nodes and connections between them. The shape of the nodes can vary. Some graph types use grid tiles, some use triangles, and some use points.
The word navmesh (or navigation mesh) is often used synonymously with the word graph. But it refers specifically to graphs that consist of triangle meshes (like the RecastGraph and NavMeshGraph).
Adding a graph
For this tutorial, we will be using the RecastGraph. It can automatically generate a navmesh from the scene geometry.
The recast graph is a good all-around graph type, which can handle most situations. It can handle both detailed features, and very large worlds, in both 2D and 3D games. However, it is worse at handling dynamic costs for different parts of the world, than, for example, a grid graph.
To create a recast graph, click on the Graphs section, then click on the Add New Graph button, and finally select the recast graph from the list.
The recast graph is pro-only feature. If you are using the free version, you can use the grid graph instead.
When the graph has been added, click on its label to expand the graph settings.
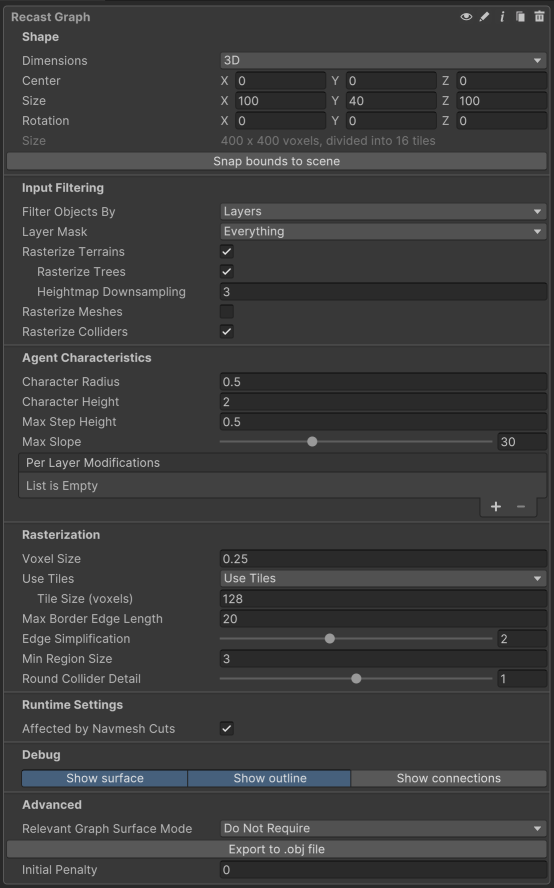
We can actually get a decent navmesh by only changing a single setting. We need to ensure that the recast graph's bounding box, which is visualized in the scene view as a white box, covers our entire world.
Click the Snap Bounds To Scene button, in the recast graph inspector.
You should see that the graph's bounding box has been resized to cover the entire scene.
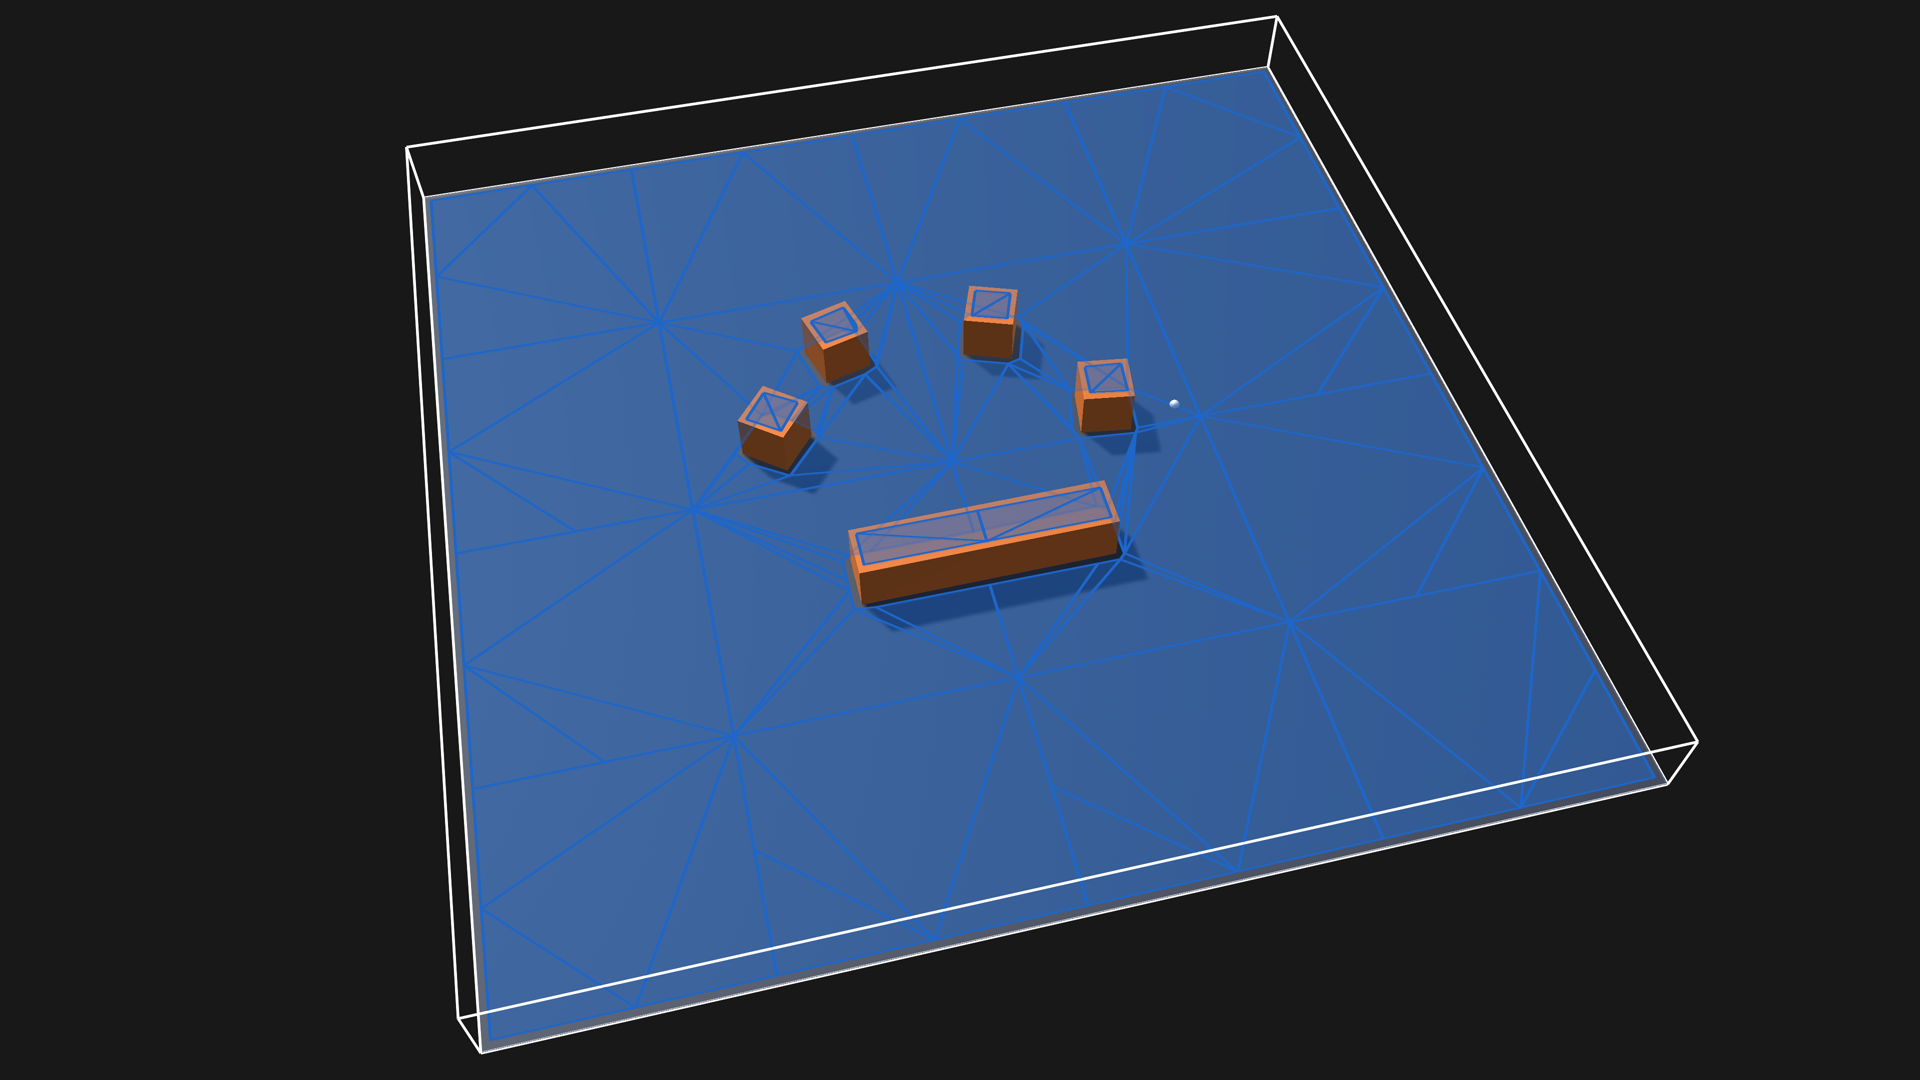
Now, we can click the Scan button, at the bottom of the inspector, to calculate the graph.
Or use the keyboard shortcut: Cmd+Alt+S (mac) or Ctrl+Alt+S (windows).
If you have done everything correctly, you should now have a generated navmesh in your scene.
Different graphs represent the walkable surface differently. The recast graph uses a triangular mesh, while, for example, the grid graph uses a grid of nodes.
We'll use the recast graph's default settings for this tutorial. But check out Getting started with recast graphs for a more in-depth guide on how to use the recast graph.
Adding an agent
What is a pathfinding test without some moving stuff? Not fun at all, so let's add an agent to play around with.

Create a new GameObject and name it "Agent"
Place it somewhere on the ground
Attach the FollowerEntity component to the agent's root GameObject
If you do not have the Unity Entities package installed, the inspector will prompt you to install it.
The FollowerEntity requires the entities package, but there are other movement scripts in the package that don't.
Add a Cylinder object as a child of the agent, and move it to (0,1,0). This will make it line up with the FollowerEntity's bounds.
There are multiple movement scripts in the package. They have different movement styles and performance characteristics. The role of these components is to take care of searching for paths and to follow them. You give it a destination, and it will figure out how to get there.
The FollowerEntity movement script is a good choice for most games that need smooth movement. It works on all graphs except the point graph, and is pretty performant too.
There are also other included movement scripts called AIPath, RichAI and AILerp.
Take a look at Movement scripts for more info. You can even write your own custom movement script, if you want.
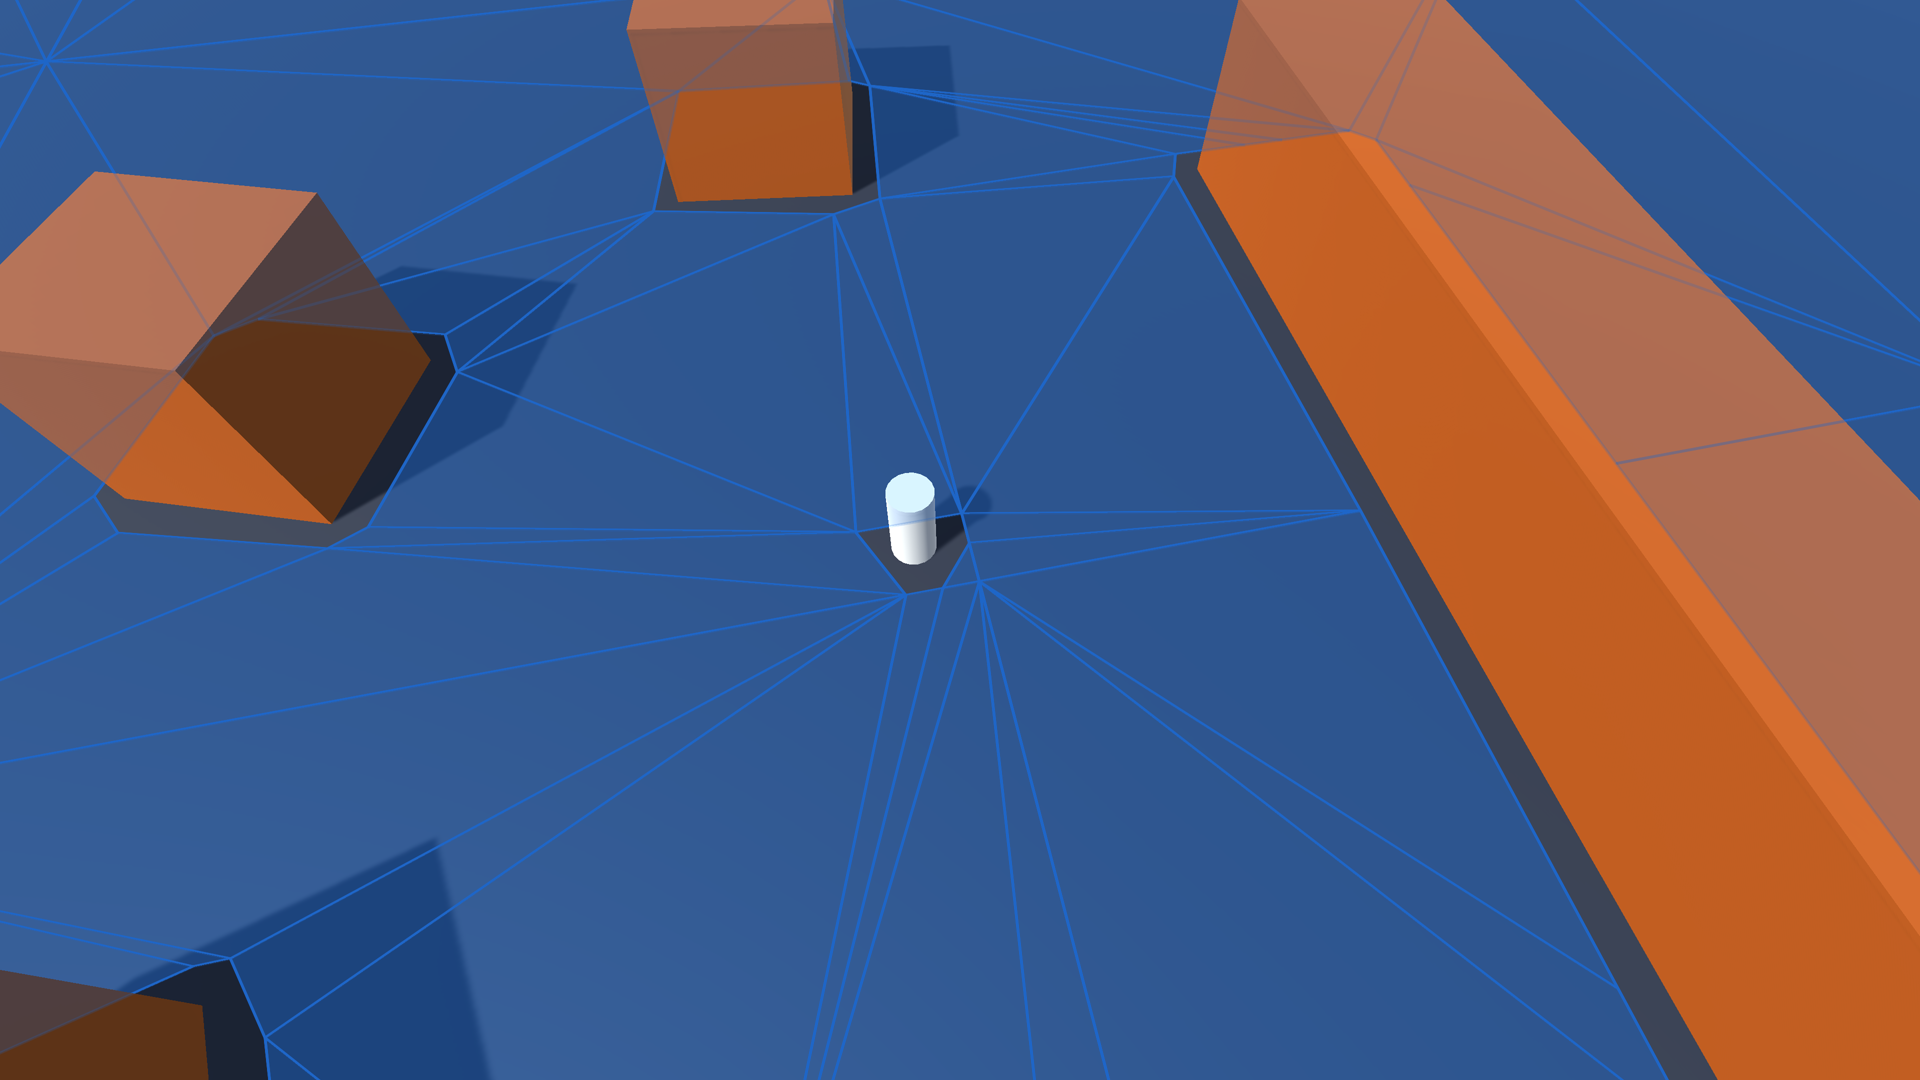

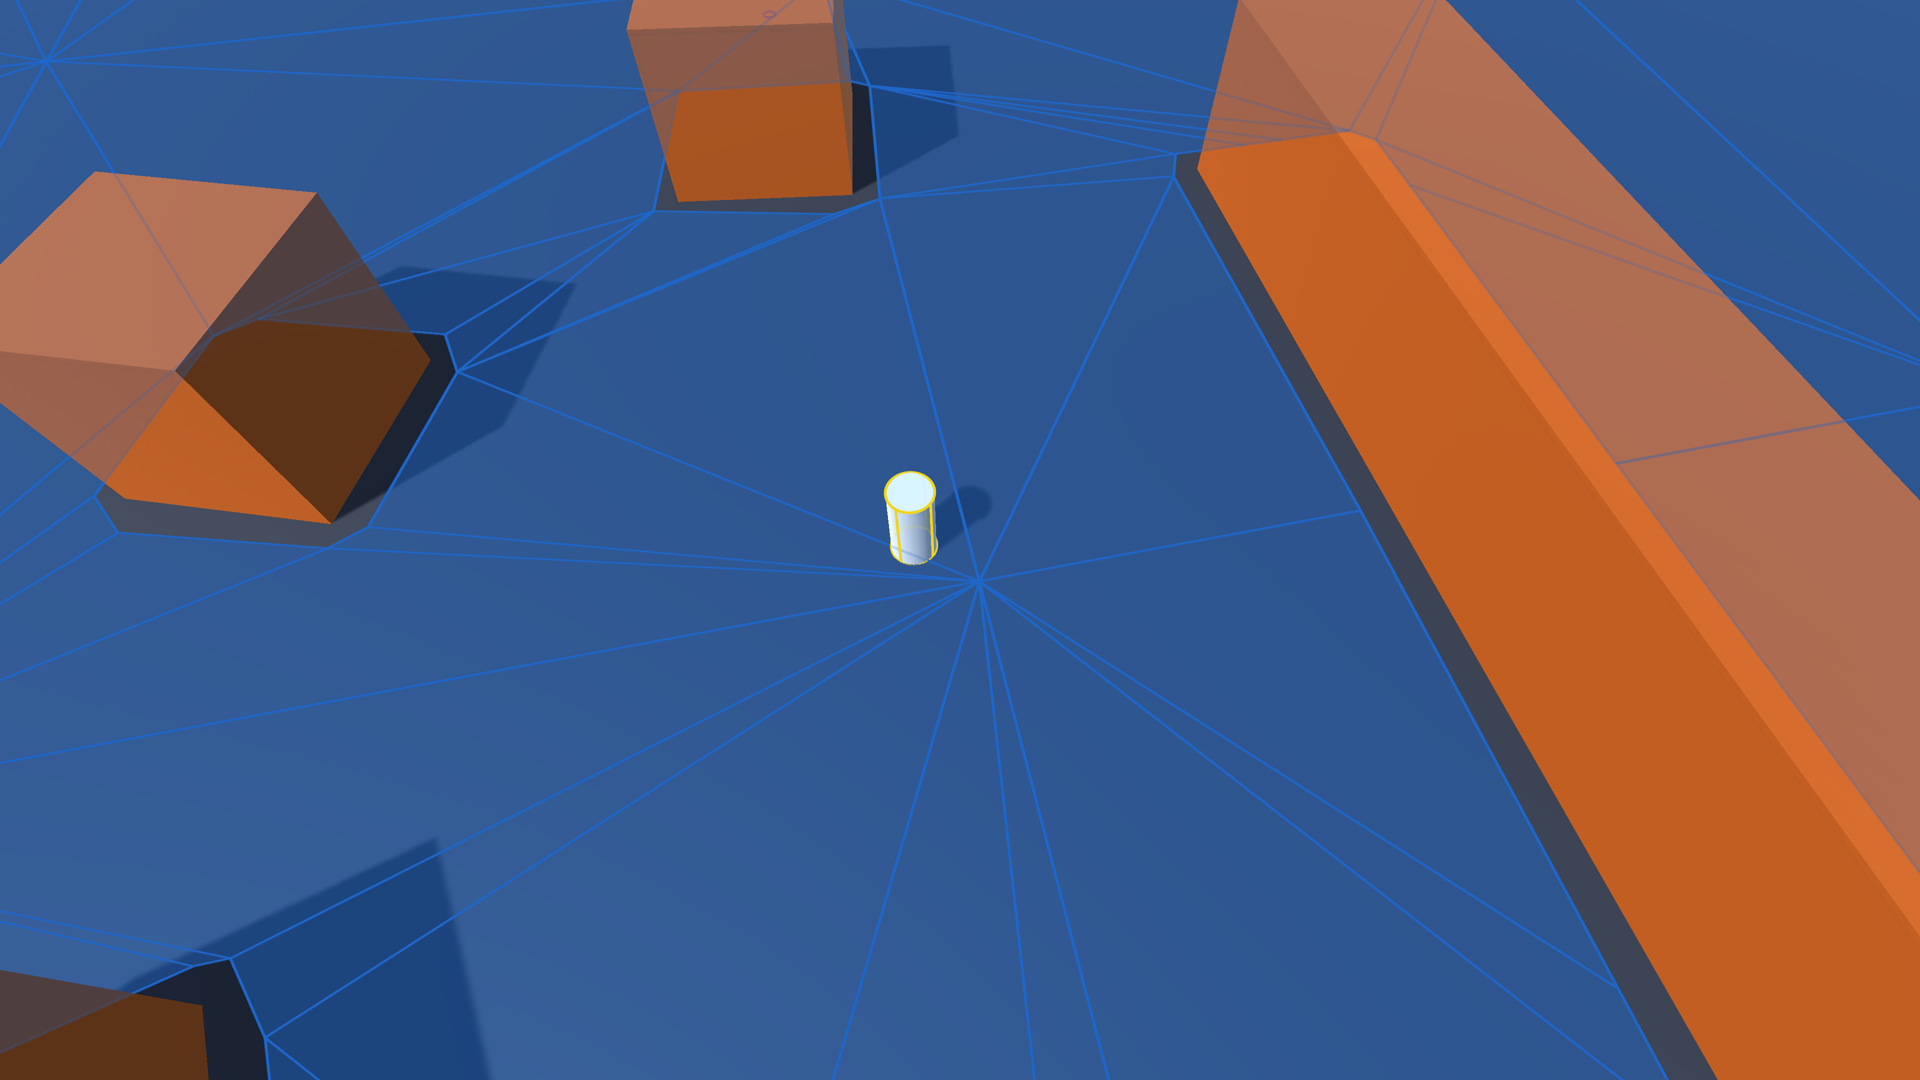
Move the agent to a separate layer. For example "TransparentFX", if you have the default unity layers. Any layer other than the default will do.
Change the layer mask in the recast graph settings to exclude the layer that the agent is on.
Scan the graph again. You should now see that the agent does not leave a hole in the navmesh.
We'll also need to tell the agent where to go. You can do this via a script, or you can use the helper component AIDestinationSetter, which allows moving to a GameObject.

Attach the AIDestinationSetter component to the agent.
We'll also need a target for the agent to move to.
Create a new Sphere object, name it Target.
Place it somewhere in the scene, where you want the agent to move.
Assign the Target GameObject to the "Target" field on the AIDestinationSetter component.
Now, if you press play, the agent should move towards the target.
The agent draws its path in the scene view by default. This is controlled by the Path option in the FollowerEntity's Movement Debug Rendering settings.
When you move the target around, the FollowerEntity will automatically do a local repair of its path every frame. It will also recalculate the path from scratch at regular intervals, or when the destination has moved a lot.
Setting the destination via code
We haven't quite achieved what we set out to do in this tutorial just yet. Our goal was to make the agent follow our cursor, but right now it only follows a target object. We can, of course, drag it around in the scene view, but that's not quite the same thing.
To solve this, we'll need a small custom script.
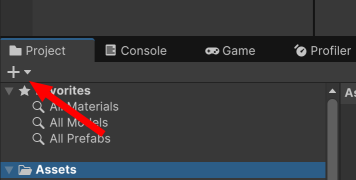
Click "Create" in your project view, and select MonoBehaviour Script.
Name the new script FollowCursor.
Double click the created script, to open it in your favorite text editor.
using UnityEngine;
// Use the Pathfinding namespace to be able to
// use most common classes in the package
using Pathfinding;

public class FollowCursor : MonoBehaviour {
    FollowerEntity ai;

    // This runs when the game starts
    void OnEnable () {
        // Get a reference to our movement script.
        // You can alternatively use the interface IAstarAI,
        // which makes the code work with all movement scripts
        ai = GetComponent<FollowerEntity>();
    }

    void Update () {
        // Get the mouse position
        var mousePosition = Input.mousePosition;

        // Create a ray from the camera to the mouse position
        var ray = Camera.main.ScreenPointToRay(mousePosition);

        // Check if the ray hits something
        if (Physics.Raycast(ray, out var hit)) {
            // Set the destination for the AI to move towards
            ai.destination = hit.point;
        }
    }
}
Add using Pathfinding; at the top of the script.
This allows your script to access most of the common classes in the package.
Create a field to store the agent reference.
Set this field during OnEnable.
In Update, fire a ray from the mouse cursor into the scene, and see if it hits anything.
If so, set the destination of the agent to the hit point.

Remove the AIDestinationSetter component from the agent, since we don't need it anymore.
Attach your new FollowCursor script to the agent.
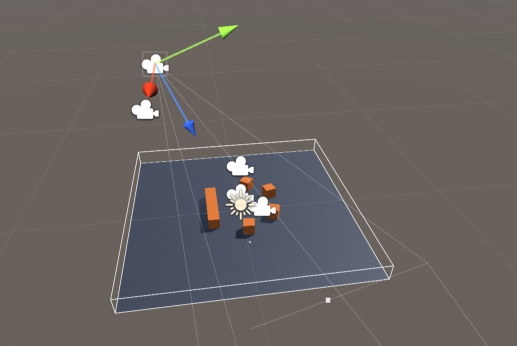
Adjust the camera so that it looks down on the scene.
Press play! You should now be able to make the agent follow your cursor around in the game view.
Logging settings
Every time a path is calculated by the system, it can optionally be logged to the console. This can be a big help in understanding what the system is doing and also to spot performance issues. Logging is not free, however, so for release builds it is recommended that you disable it.
You can change the logging settings under the A* Inspector → Settings → Debug tab. 
Use less debugging to improve performance (a bit) or just to get rid of the console spam. Use more debugging (heavy) if you want more information about what the pathfinding scripts are doing. The InGame option will display the latest path log using the in-game GUI.
Conclusion
That concludes the Get Started tutorial. We have covered the basics of creating a scene with obstacles, adding a graph, and making an agent move around on it, and how to interact with an agent using code.
I wish you the best of luck in your continued exploration of this package.
Here are some suggestions for what to do next: