This tutorial shows how you can model a navmesh in an external 3D modelling program such as Blender.
This tutorial is a part of Using navmeshes.
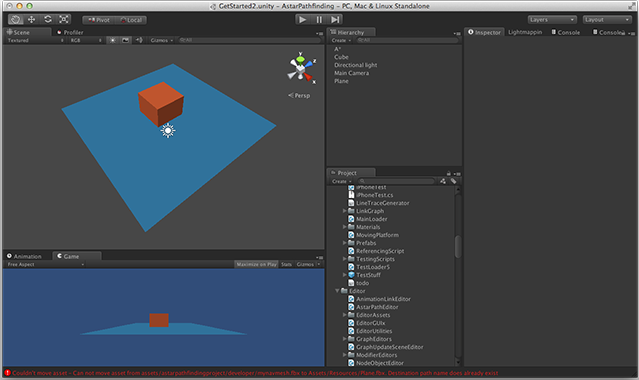
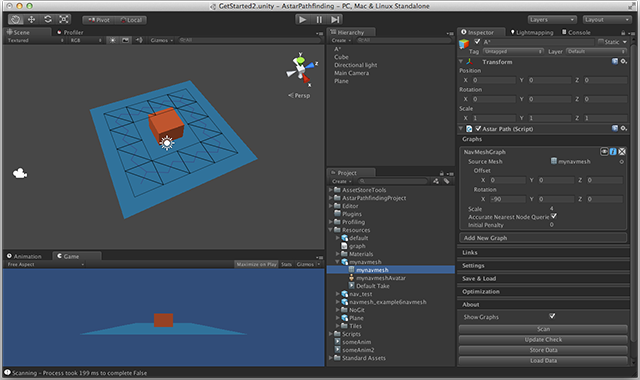
Assume we have this scene: A simple plane with a box in the middle.
To model a navmesh, open up you favourite modelling application. I will use Blender which is a free and open source 3D modeling application.
Create a plane, subdivide it two times and then remove the inner four quads.
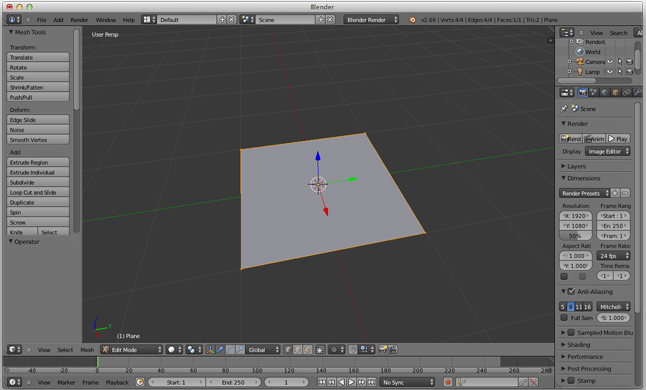
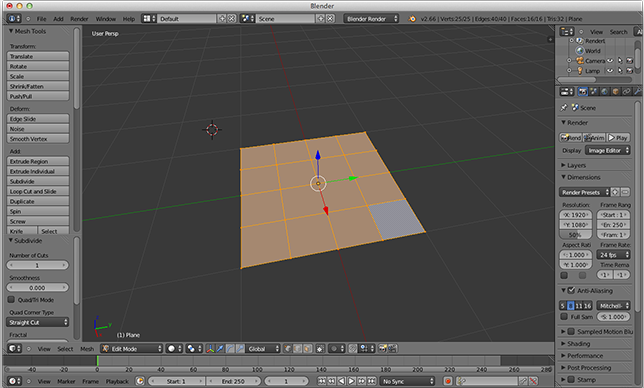
Blender will show quads, but when exporting to Unity, it will be converted into the triangles that the A* Pathfinding uses.
Export to an FBX file somewhere in your project.
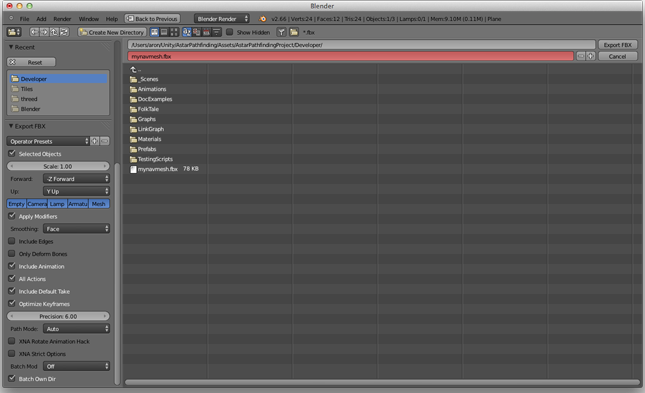
Now it should show up in Unity.
Create a new GameObject, like in the first tutorial, name it "A*" (to find it easily in the heirarchy) and attach the "Pathfinder" component. Then open Graphs -> Add Graph -> Navmesh Graph. This will create a new navmesh graph, open the settings for it.

Drag the mesh object (not the prefab object) which was imported before to the "Source" field on the navmesh graph. It will probably show some fix buttons. Due to technical serialization issues, the meshes need to be placed in the Resources folder and the object must be named the same as the actual mesh. Clicking the fix buttons will do this for you. You can of course also set the mesh using a script without it having to be in the Resources folder.
Press Scan (or Cmd+Alt+S, Ctrl+Alt+S on Windows). If everything goes well, you will see the mesh in the scene view. However you might need to change the import scale on the mesh (in the import settings for the mesh asset), usually Unity defaults to an import scale of 0.01, change this to 1. Also depending on the axis settings your modelling tool uses, you might need to rotate it. You can rotate it directly in the navmesh graph settings. When importing from blender with default settings, rotating with (-90, 0, 0) will give it the correct rotation.
Now pressing scan should show you the graph in the scene view. Make sure Show Graphs (at the bottom of the inspector, is checked).
The tutorial continues on the page Using navmeshes.
