|
A* Pathfinding Project
3.8.2
The A* Pathfinding Project for Unity 3D
|
|
A* Pathfinding Project
3.8.2
The A* Pathfinding Project for Unity 3D
|
If you read the Local Avoidance tutorial, you should have been through the step where you added an RVOSimulator.
That class is actually a wrapper class for the Pathfinding.RVO.Simulator class. You can get a reference to it using something like this:
This simulator has several methods for adding and removing obstacles.
An obstacle can be added simply by passing a Vector3 array with the outline of the object and a parameter specifying height of the obstacle.

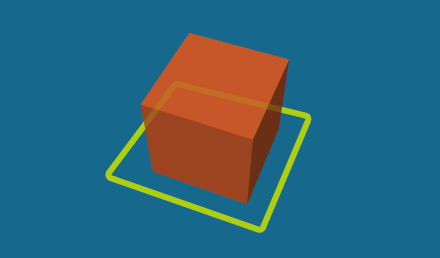
Say we wanted to add a small square obstacle at the world origin.
It should be quite self-explanatory. If you put it in a script and add it to any GameObject in the scene and then play the game, you should notice that no agents will be able to traverse the world origin they will be blocked by the obstacle we added.
It is important to know that the order of the vertices matter, clockwise polygons will shut agents in but let them move freely into it, as opposed to counter-clockwise polygons will keep agents out from it, but if they are inside it for some reason, they can move out from it easily. You can see the effect easily if you add the line
Just after defining the vertices in the above script. When the agents move into the square, they will be trapped.
You can also add obstacles as individual edges with the syntax:
These will be seen as convex polygons so agents will not be able to move through them in any direction.
To make it easier for you, there are already a few built-in "colliders". You can find them under Components -> Local Avoidance. For easier creation of your custom colliders, you can take a look at the docs for RVOObstacle.